


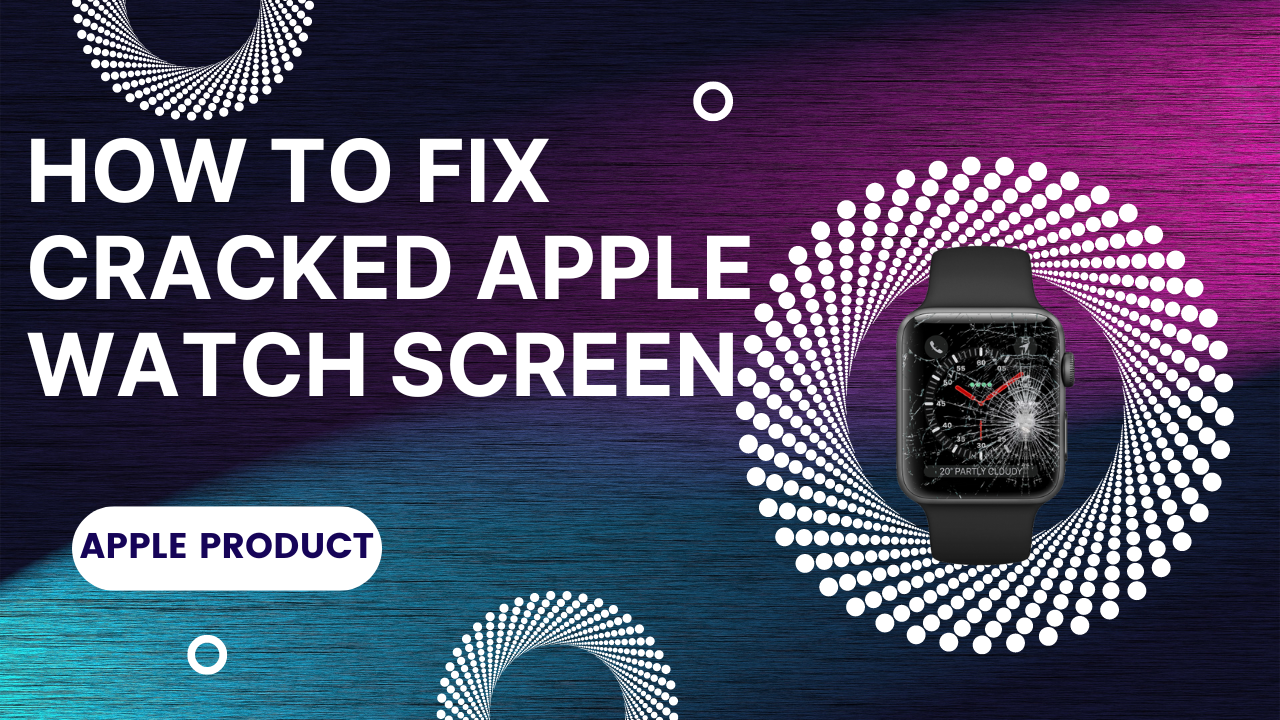
We’ve all been there. You pull out your Apple Watch, which now has a net of cracked screens across its previous clean and perfect display. It is certainly an upsetting event, however, before you give up, make the effort to say a sigh of relief. There exist ways of reviving your Apple Watch to its new condition without emptying your pocket.
Assessing the Damage:
You find a broken Apple Watch screen and you are sad about it. Nevertheless, it is vital to evaluate the damage before committing myself to repairing it. The following step could change your repair approach, and you may be able to save time, money, and aggression.
Beyond the Crack: A Deeper Look
Not only the crack itself is the cause for worries, but the overall state of the damage should also be considered. Here’s what you should look for:
- Crack Severity: Is it as tiny as a tiny hairline crack or as big as a spider web? The degree of the crack affects the repair method and its outcome.
- Touchscreen Functionality: Do you still get accurate responses from the touchscreen despite your touch? A cracked screen might not always become a complete touchscreen failure, but a thorough check on the screen responsiveness is a must.
- Internal Damage: Although intangible, this crack could have interfered with the internal functions. Check for sticking buttons, irregular battery consumption, and hitching.
Why Assessment Matters:
Thorough assessment before repair offers several benefits:
- Choosing the Right Repair Approach: When a minor crack is fixed by screen replacement it differs from a more severe damage, which can require a greater repair.
- Managing Expectations: This awareness will help not to raise false expectations of the final result of the repair. What looks like a teeny fracture could result in the need for more advanced treatment.
- Cost-Effectiveness: This gives you the ability to make a rational financial decision. Treating a simple crack might be economical, but general failures would need a replacement.
Contact Apple Support:
A cracked Apple Watch screen can be a very stressful episode, especially if AppleCare+ or your warranty covers the phone. Before you start by yourself or go to a third-party provider, talk to Apple Support first. Here’s why:
Warranty and AppleCare+ Coverage:
The company’s standard warranty stipulates coverage for a particular time frame and exempts accidental damages like a cracked screen. On the contrary, if you have AppleCare+ protection, it ensures broader coverage for accidental damage, including screen cracks. Having Apple Support contact ascertains your coverage and discovers if the repair is under the coverage of warranty or AppleCare+ protection. This can do the same without additional repair costs or even make it free.
Expert Diagnosis and Repair:
Apple’s certified technicians are knowledgeable of the peculiarities of different Apple Watch models and repairs. They can precisely identify the extent of the damage even within the hidden crack and repair it comprehensively by subjecting any underline issues also necessary. Thus, this careful attention to detail avoids re-damage or additional complications stemming from incomplete repair.
Convenience and Peace of Mind:
Apple provides repair services via its official channels, consisting of mail-in requests, and appointments at Apple Stores, or at Apple Authorized Service Providers. This gives you an option to select the most ideal method depending on your location and time. Additionally, Apple repairs are warranted, which is comforting as you can be assured that trusted professionals handle your watch.
DIY Screen Repair Kits:
Although we are always recommended to contact Apple Support, tech-advanced people can take DIY repair kits as another option to fix a broken Apple Watch screen. The kits come with practical tools and accessories as well as ‘respawn’ parts to repair by yourself and this can help you save money compared to professional services.
Navigating the World of DIY Kits:
The market provides a broad range of DIY Apple Watch screen repair kits tailored to individual requirements:
- Adhesive Strips: These kits have premade tape for those looking to keep their cracked screen which is still intact though majorly at a lower level. This is a remedy for small destruction areas.
- Replacement Screens: These kits are made up of a complete replacement screen with the LCD & digitizer, and this requires a much more detailed disintegration and reassembly.
- Toolkits: Some kits offer these tools such as prying tools, tweezers, and heat guns, as well as the screens being replaced or adhesive strips.
Choosing the Right Kit:
To choose the right kit, you should be careful with the severity of the incident and the mode of Apple Watch:
- Cracked Screen but Intact Functionality: A cracked screen that works fine means a glue strip kit will be a solution.
- Shattered Screen or Touchscreen Issues: Sometimes, these screens prompt a complete kit which might give way to unresponsive touchscreen.
- Model Compatibility: Check the compatibility of the selected case with your Apple Watch model and screen size. g. , 40mm, 44mm).
Important Considerations:
DIY repairing may be cost-saving, but with a toll of its own:
- Technical Expertise: Replacing a screen on an Apple Watch requires one to be too careful and knowledgeable. Improper treatment could provoke additional harm.
- Warranty Voiding: Confusing about the legitimate certificate.
- Water Resistance: DIY repairs will damage the water resistance of your Apple Watch.
Step-by-Step Repair Process:
DIY you have decided to go for it – now let’s start with how to replace your cracked Apple Watch with an iFixit repair kit. Once again, accuracy and thoroughness are the secrets to successful repair.
Preparing for the Repair:
- Gather Your Tools: See that your kit contains all the items, for example, spudgers, tweezers, hair dryers heat guns, and safety glasses.
- Create a Clean Workspace: Select an easy-to-clean, dust-free spot that is also well-lit to help prevent contamination while working.
- Power Down Your Watch: Please, turn off your Apple Watch completely when you are about to start disassembly.
Removing the Old Screen:
- Apply Heat: Heat the screen with a heat gun or a hair dryer over a short time. This leads to the glue holding the screen becoming softer.
- Start Prying: Carefully insert a thin opening tool (spudger) into a small gap between the screen and the watch body. This will open the device. Do it slowly, peel off the screen from the edges bit by bit. Apply minimal force and gently do not break the watch body.
- Disconnect Cables: On shifting the screen partially, try to find and remove any flex cables that connect the screen to the watch’s internal parts. With tweezers, you are to remove the point of the connectors slowly.
Installing the Replacement Screen:
- Clean the Watch Body: Clean the watch body from the remaining glue and dust using a lint-free cloth.
- Apply New Adhesive (if included): However, if there are pre-manufactured and ready-to-stick adhesive strips, just carefully position them to where the strands of the watch should be.
- Position the New Screen: Put the new screen in the watch, making sure it is well-fitted and the electric cable is aligned duly.
- Secure the Screen: By lightly pressing the screen down, it sticks well onto the watch frame. This will promote a paramount fastening.
- Reconnect Cables: Wear in mind to join the derelict flex cables to the specific connectors on the new screen.
Tips and Tricks:
- Go Slow and Steady: Tunneling in a hurry can result in accidental damage. Make sure to be careful and apply the pressure evenly as the repair is done.
- Minimize Force: Do not apply excessive force as you are prying or working with the sensitive parts.
- Organize Screws and Components: Note down any screws or small parts that may be removed during your disassembly which should ensure proper assembly thereafter.
- Consult Online Guides: Many digital media platforms have video tutorials and detailed, model-specific step-by-step instructions you could choose from.
Following Instructions:
By all means, in particular, follow your repair kit instructions in charge of your condition. The instructions are developed so that they can be understood and followed easily based on the parts form and assembly method.
Testing and Finalizing the Repair:

Fastening the fresh screen into its spot, there is only one more step to your project. Whether you have the latest model or an older version, we will guide you in the process of repairing for effective functioning.
- Double-check Connections: Secure all cables in their appropriate connectors, on the new screen.
- Tighten Screws: With utmost care, screw back all the screws that you took away during disassembly to ensure a sealed watch body.
- Power Up and Test: Put your Apple Watch on and correctly check through all functionalities.
Reconnecting and Securing:
Should you run into more complications after finishing the repair, please find the relevant troubleshooting and solutions below.
- Unresponsive Touchscreen: This could be a problem with its flex cable. Re-check all connections and make sure they are tight. The screen may not be correct if the case is not resolved.
- Display Issues: Fade-out, flickering, or non-functional pixels might be an indication of a problematic replacement screen. Contact the kit supplier for the spare part.
- Functionality Problems: Make sure all buttons and other functionalities that don’t work are properly placed and re-attached. If the issue endures, consult a specialist.
Troubleshooting Tips:
- Restart your Apple Watch: A restart of the system can typically solve small problems or software issues.
- Consult Online Resources: If you run into persistent issues there are so many online sources providing step-by-step guides to resolution based on your watch model and procedure.
Closing Remark:
Discovering that your Apple Watch has a cracked screen can be a frustrating situation and you don’t need to worry. This information has finally illustrated all the methods of the proper restoration of your smartwatch so that it will be like new once more.
FAQs:
There are following FAQs are;
Q1: Am I in a position to fix a smashed screen of Apple Watch by myself?
There are DIY repair kits available, but these are highly specialized and come with inherent risks to the health of the users alike. Contemplate safety and difficulties beforehand, before you try to do a DIY repair.
Q2: Should I buy the right repair kit for my Apple Watch from several repair guides or search for the right repair kit?
Pick out a kit for the level of severity of the damage (light break vs. deep break). either scratch or break your phone screen which is dependent on the iPhone model (eg. screen size and data connectivity).
Q3: How do I avert the screen of the Apple Watch from cracking in future times?
Get a reliable screen cap for your phone so it won’t be affected by everyday accidental drops and scratches.